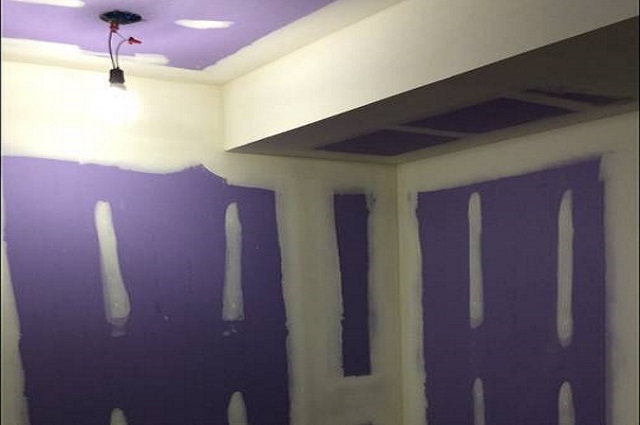
Smooth finish with skim coating
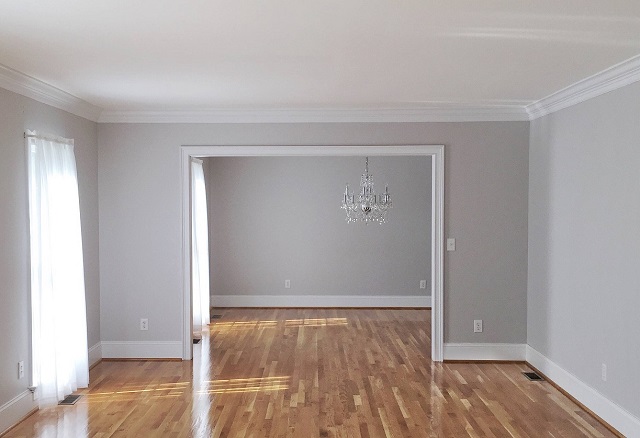
Preparation of the Surface
Before beginning the process of Skim Coating walls and ceilings, it is crucial to ensure that the surface is clean and free of any debris or loose particles. This can be achieved by thoroughly cleaning the area and repairing any cracks or imperfections using a suitable filler or joint compound. By taking the time to prepare the surface adequately, you will create a smooth and uniform base for the skim coating process.
In addition to cleaning and repairing the surface, it is important to prime the walls and ceilings before applying the skim coat. Priming helps to seal the surface, ensuring proper adhesion of the skim coating material. This step not only enhances the durability of the skim coat but also improves the overall finish of the plastered surface. By following these preparatory steps diligently, you can achieve a flawless and professional-looking result when plastering walls and ceilings.
Selecting the Right Skim Coating Material
When it comes to plastering walls and ceilings, selecting the right skim coating material plays a crucial role in achieving a smooth and flawless finish. One key factor to consider is the type of surface you will be working on – whether it is drywall or plaster. For drywall surfaces, opt for a lightweight joint compound that is specifically designed for skim coating. This type of compound is easier to work with and provides a strong bond to the drywall.
Additionally, consider the drying time of the skim coating material. Faster drying compounds are ideal for projects that need to be completed quickly, while slower drying compounds allow for more working time and are better suited for larger surfaces that require more precision. By choosing the appropriate skim coating material based on the surface type and drying time, you can ensure a successful plastering project with professional results.
Mixing the Skim Coating Compound Properly
When it comes to preparing the skim coating compound for plastering walls and ceilings, achieving the right consistency is crucial for a successful application. Begin by pouring the recommended amount of water into a clean mixing bucket. Slowly add the skim coating powder into the water while continuously stirring with a mixing paddle. It’s important to follow the manufacturer’s instructions regarding the water-to-powder ratio to ensure a smooth and workable mixture. Aim for a lump-free and uniform consistency to make the application process easier and more effective.
Once the skim coating compound is properly mixed, let it sit for a few minutes to allow the ingredients to fully combine. During this brief resting period, the compound may thicken slightly, so be prepared to give it a quick stir before applying it to the surface. Avoid adding more water after the initial mixing, as this can alter the compound’s consistency and compromise the quality of the finish. Remember, the key to achieving professional results when skim coating is in the preparation phase, so take the time to mix the compound properly before moving on to the application process.
Applying the First Coat of Skim Coat
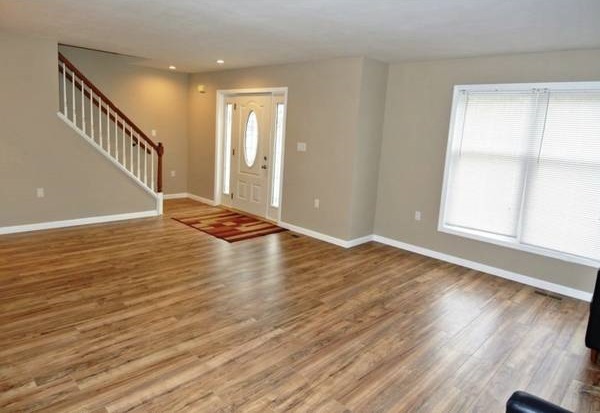
When applying the first coat of skim coat to the prepared surface, it’s essential to start from the top and work your way down. Use a trowel to spread the skim coating material evenly over the surface, ensuring full coverage. Pay close attention to any imperfections or uneven areas, smoothing them out as you go along.
After the first coat is applied, allow it to dry completely according to the manufacturer’s instructions. This may take several hours, so be patient and avoid touching the surface during this time. Once the first coat is dry, inspect the surface for any areas that may require additional skim coating to achieve a smooth finish. Take your time with this step as it will set the foundation for the subsequent coats of skim coat and painting.
Sanding the Surface Smooth
Once the first coat of skim coat has dried, the next step is to sand the surface smooth. This is a crucial step in achieving a flawless finish on your plastered walls and ceiling. Start by using a sanding block or sanding pole with fine-grit sandpaper to gently smooth out any imperfections or uneven areas on the surface. It is essential to maintain a consistent pressure while sanding to ensure a uniform finish across the entire surface.
After sanding the surface to your satisfaction, wipe down the area with a clean, damp cloth to remove any dust or debris. This step is crucial before applying the second coat of skim coat to ensure a clean surface for optimal adhesion. Inspect the sanded surface carefully to identify any remaining rough patches or imperfections that may require further attention before proceeding with the next coat. Sanding the surface smooth is a meticulous process that is essential for achieving a professional-looking finish on your plastered walls and ceiling.
Applying the Second Coat of Skim Coat
The second coat of skim coat is a critical step in achieving a smooth and flawless finish when plastering walls and ceilings. Once the first coat has dried completely, it’s time to move on to applying the second layer of skim coating compound. This coat helps to further fill in any imperfections or uneven areas left after the first coat, providing a more even and polished surface for painting or finishing.
When applying the second coat of skim coat, it’s important to work methodically in small sections to ensure even coverage and thickness throughout the surface. Use a trowel or putty knife to spread the skim coating compound evenly, pressing firmly to fill in any remaining gaps or depressions. Pay close attention to any areas that may still be rough or uneven from the first coat, smoothing them out as you go. Allow the second coat to dry completely before proceeding to the next step in the skim coating process.
• Start by preparing the surface by lightly sanding any rough areas or imperfections left after the first coat
• Mix the skim coating compound according to manufacturer’s instructions, ensuring a smooth and lump-free consistency
• Apply the second coat in thin layers, building up thickness gradually to avoid drips or uneven patches
• Use a light touch when smoothing out the skim coat to prevent creating new imperfections or streaks
• Check for any missed spots or areas that need additional attention before allowing the second coat to dry completely.
Sanding Again for a Flawless Finish
After applying the second coat of skim coat to achieve a smooth surface, the next step in the process is sanding. Sanding the surface again is essential for achieving a flawless finish. This step helps to level out any imperfections, bumps, or ridges that may have appeared during the application of the skim coat. By sanding the surface carefully and thoroughly, you can create a smooth and even surface that is ready for priming and painting.
Sanding the skim coated surface should be done with a fine-grit sandpaper to avoid damaging the smooth surface you have worked hard to achieve. It is important to sand in circular motions or in a back-and-forth motion, working systematically across the entire surface. By sanding with care and attention to detail, you can ensure that your plastered walls and ceiling are ready for the next steps in the finishing process.
Priming the Surface Before Painting
Before you start painting over your skim coated surface, it is essential to prime it properly. Primer acts as a base coat that helps the paint adhere better to the surface, ensuring a longer-lasting finish. It also helps to prevent flashing or uneven absorption of paint, resulting in a more uniform and professional-looking final result. Make sure to choose a high-quality primer that is suitable for plastering walls and ceilings.
When priming the surface, ensure that it is clean and free of any dust or debris from sanding. Use a roller or brush to apply the primer evenly, working in small sections to avoid lap marks. Allow the primer to dry completely before applying the paint. Remember that the type of primer you choose can affect the final look of your paint job, so it is important to select one that is compatible with the skim coating material you used and the type of paint you will be using.
Painting the Skim Coated Surface
To ensure a seamless finish on the skim coated surface, it is essential to choose the right type of paint that is suitable for plastered walls and ceilings. Acrylic paints are commonly recommended for their durability and ability to adhere well to the skim coat. When selecting a paint color, consider the overall aesthetic of the space and how it complements the rest of the decor. It’s advisable to opt for a high-quality paint that will provide a smooth and even coverage over the skim coat, enhancing the overall appearance of the surface.
Proper preparation is key before painting the skim coated surface. Make sure the surface is clean and free of any dust or debris that could affect the paint application. Use a primer to create a smooth base for the paint to adhere to, helping to achieve a professional-looking finish. Apply the paint using even strokes, starting from the top and working your way down to ensure uniform coverage. Allow the paint to dry completely between coats, following the manufacturer’s instructions for drying times. This meticulous approach will result in a beautifully painted surface that enhances the overall aesthetic of the room.
Maintaining the Finished Surface
Maintenance is key to preserving the integrity and appearance of skim-coated surfaces. Regularly inspecting the walls and ceiling for any signs of wear and tear is essential. Simple touch-ups can be done as needed by applying a small amount of skim coating material to fill in any cracks, dents, or imperfections that may appear over time. This proactive approach can prevent larger issues from arising and ensure that the surface remains smooth and flawless.
In addition to addressing minor damages promptly, it is important to keep the finished surface clean and free of dirt and debris. Regular dusting or gentle cleaning with a damp cloth can help maintain the pristine look of the skim-coated area. Avoid using harsh chemicals or abrasive cleaners, as these may damage the skim coat and affect the overall finish. By incorporating these simple maintenance practices into your routine, you can prolong the life of your skim-coated walls and ceiling and enjoy a fresh, like-new appearance for years to come.

